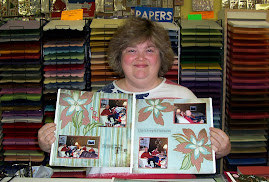
It's taken me four years, but I'm finally back and on track!
I love being a Stampin' Up! demo again. This time around I've been making a lot of cards with all the goodies I earned during SAB. With my limited vision, card making has been the perfect way to ease myself back into crafting, and my mother-in-law and sister-in-law love receiving them as gifts.
Even though they've been around a long time, I'd never done a One Sheet Wonder before, so I started with an easy version. All you have to do is take an 8 1/2 x 11 sheet of printed paper and cut it into four rectangles that are 4 1/4 x 5 1/2 each. The trick comes from what you do with each rectangle. The first one is cut diagonally and makes two cards.
The second rectangle is cut in half either horizontally or vertically. (I'm still learning how to take pictures with my new camera, and it doesn't seem to be as blog friendly as my old one. I do love the great SAB buttons, though!)
The third rectangle is cut into two sections: one that is 1/3 of the paper and another that is 2/3s of it.
Love that matching SAB ribbon! The background paper was embossed with the lace embossing folder.
My mother-in-law needed cards that could be used in a variety of situations, so I used the Celebrate You stamp from one of the old birthday sets. She can use it for birthdays, graduations, congratulations, etc.
The final rectangle is cut into 3 sections. To change things up, I used the reverse side of the Sycamore Street DSP paper for one of the cards. My sister-in-law liked this one best!
I had a little trouble with the last one and would definitely cut or tear the paper differently next time!
I hope you enjoy seeing my first attempt at One Sheet Wonder card making. I look forward to sharing a different version with you next time!
Subscribe to:
Post Comments (Atom)


No comments:
Post a Comment